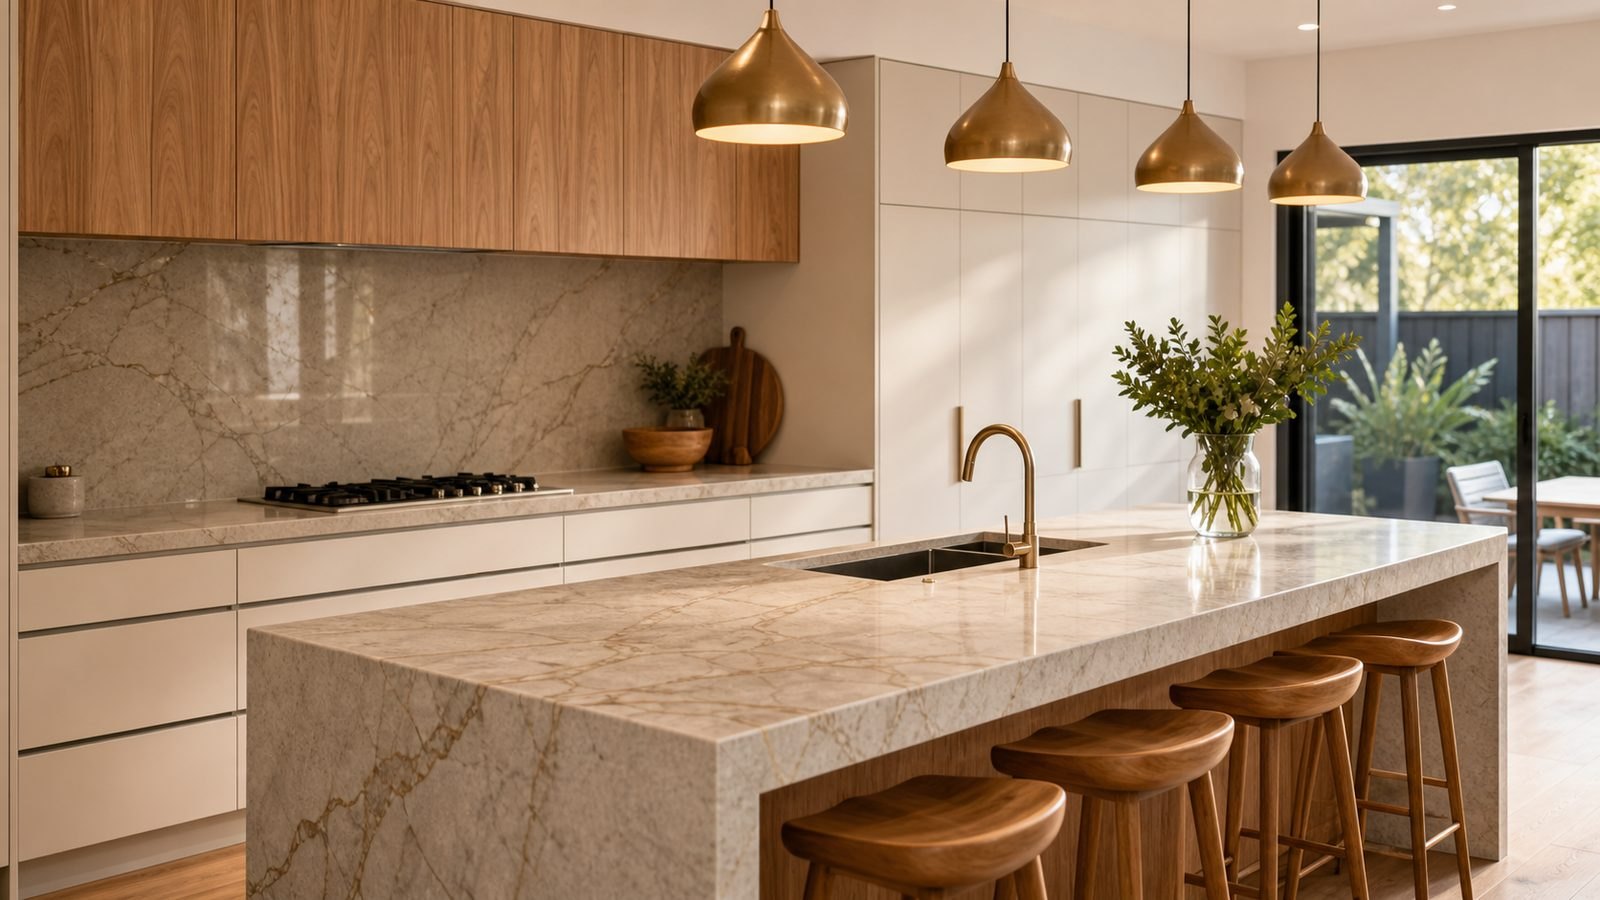
A long benchtop is usually discussed as a colour and an overall shape. The seams deserve a separate conversation. Their position affects the appearance of the finished room, the relationship between adjoining patterns and the way individual pieces reach the cabinets. For a Mandurah kitchen renovation, make this conversation part of approving the design rather than an inspection after installation. A simple annotated plan can reveal an awkward join while it is still possible to change the arrangement.
Separate the room plan from the slab plan
A room plan shows cabinets, appliances, walls and circulation. A slab plan shows how each finished piece is taken from the available material. The two drawings answer different questions. A kitchen can fit comfortably within the room while requiring an unexpected join because a finished section does not fit within the usable area of a slab. Conversely, a layout that uses material efficiently may put a conspicuous pattern change directly in the main view from the living room.
Ask to see the connection between these drawings. Label the island, window run, return and any upstands consistently so you can follow each piece. Mark which edge faces the room and which sits against a wall. Check that the drawing identifies the actual selected material and finish. A generic slab rectangle with your kitchen shapes arranged inside it is useful for early discussion, but it cannot tell you whether a particular vein or natural feature will fall in the place you expect.
Decide which view matters most
Stand in the normal entry position, dining area and main preparation position. Note which surfaces you see together. In an open kitchen, the island may dominate the distant view while a join along the rear wall is more noticeable during daily preparation. Neither view automatically wins. The point is to identify the priority before the fabricator balances pattern, handling, supports and the size of the available pieces.
A practical brief might say that the broad island face is the visual priority, with the wall run allowed to have a more obvious pattern change. Another household might prefer a quiet preparation area and accept a join on the island away from seating. Explain the preference in words as well as on a sketch. Photographs from your actual viewing positions help avoid an approval based solely on a flat overhead drawing that nobody will ever see in the finished room.
Treat join locations as a technical discussion
A seam is a junction between fabricated pieces, not simply a line selected to hide a colour change. The proposed position must work with the cabinet arrangement, openings and the support required by the product. Do not instruct a fabricator to move a join solely because it looks better in a sketch. Ask what changes would be needed to make that alternative workable, including changes beneath the top that may not appear on a decorative drawing.
Manufacturer instructions can differ between products and thicknesses. Laminam's furnishing and design guide, for example, treats cut-outs and support as design matters. It is a product-specific reference, not a universal rule for every benchtop. Your useful question is which current technical document governs your selected slab, and whether the proposed layout has been checked against it. Keep engineering and fabrication decisions with the responsible professionals rather than adopting a dimension from a different manufacturer's brochure.
Follow the pattern around returns
A directional pattern behaves differently from a fine, evenly distributed design. When the top turns a corner, rotating one piece can create a sudden change in the direction of its strongest lines. Continuing a vein through the corner may instead require another piece, a different orientation or a different slab selection. Ask for both options on the drawing where the distinction matters. The word matching is too vague unless the supplier explains what will actually be aligned.
Distinguish colour consistency from vein continuity. Two pieces may share a background colour and still have entirely different movement across their faces. Natural variation, printed designs and repeat patterns need different discussions. If a sample shows only a small pale patch, it cannot represent the distribution of darker areas across a full piece. Review a suitably clear whole-slab image and close detail, then ask whether those images represent the stock allocated to your project or merely an example of the range.
Coordinate islands, ends and splashbacks
An island with a waterfall end asks the pattern to work horizontally and vertically. The eye may expect a vein to appear to continue around the corner, but the chosen slabs and cutting arrangement determine what is possible. Confirm which end receives priority if there are two visible ends. Also ask how the edge construction affects the visible strip at the corner. The waterfall island guide addresses that assembly more broadly; the seam plan should record its specific orientation.
A matching splashback adds another plane to the composition. Photograph or sketch the elevation with sockets, windows, rangehood and upper cabinetry marked. A large vein that looks balanced on an uninterrupted rectangle may disappear behind the cooktop or end abruptly beside a window. Decide whether you want continuous movement from the bench, an intentionally different direction, or a quieter wall. Make that choice before the splashback pieces are allocated, rather than assuming the remaining material will naturally give the effect you had in mind.
Check access without redesigning it yourself
The largest piece that fits the room on paper may not be the largest piece the installation team can bring through the property. Provide ordinary photographs of the access route, including bends, doorways, stairs and any lift. In an apartment, obtain the building's delivery arrangements before promising an installation date. Let the installer assess handling requirements. Do not remove balustrades, doors, cabinets or other building elements yourself to make a speculative access plan work.
A join proposed for handling reasons should be explained separately from one proposed for material yield or support. That distinction makes alternatives easier to assess. You may accept a visible junction to retain existing access conditions, or choose a less ambitious overall piece size. Ask whether the proposal is provisional until a site visit. A quote that relies on unverified access assumptions can look attractive while leaving the most consequential design decision until fabrication is already scheduled.
Compare alternatives on the same scope
When comparing seam layouts, hold the material, finish, cut-outs and edge detail constant as far as possible. Otherwise a visually cleaner drawing may also contain a different product or less complex edge, making the comparison misleading. Ask each option to identify the number and location of finished pieces, visible junctions and any changes to cabinetry. Record the reasons for the alternatives rather than labelling one good and the other cheap.
Material yield matters, but area alone does not settle the issue. A long narrow offcut might be suitable for one component yet useless for another with a different orientation. The existing stone quantity guide can help you organise initial dimensions; an approved cutting layout is the next level of detail. Avoid assigning a promised laundry or vanity top to leftover material until the fabricator has confirmed a usable piece remains after the main kitchen parts are allocated.
Hypothetical example: a return and an island
Imagine a kitchen with an island visible from the dining room and an L-shaped wall run containing the sink. The homeowner likes a strongly veined sample and asks for the same direction throughout. The first layout rotates the return to use the slab efficiently. On the room plan this looks simple, but the vein changes direction sharply at the corner. The homeowner notices the issue on a marked slab image before approving production.
The revised discussion explores whether maintaining direction changes slab allocation, seam placement or the selected design. The homeowner decides that the island should carry the strongest movement and the rear run can use a quieter section. That is a specific visual preference the fabricator can assess. It does not depend on claiming an invisible seam. The approved drawing records the orientation arrows, the corner junction and the accepted change in pattern, so neither party has to reconstruct the decision from a showroom conversation.
Make approval documents readable
Ask for an issue date and revision identifier on the layout you approve. It should be possible to distinguish the preliminary quote sketch from the final production drawing. If you change the sink, move an appliance or alter an island end, ask whether that change affects the layout approval. A casual message saying everything looks fine can become ambiguous when there are several images and drawings in the same conversation.
Review the plan in the right orientation, with labels large enough to read. Confirm which side is the finished face, where the front edge sits and how any separate strips are represented. Request clarification for symbols you do not understand. Keep the approval and the product reference together with your quote. The aim is a record of deliberate choices, including any accepted pattern interruption, rather than an expectation that a fabricator can reconstruct the appearance of a whole slab from a small sample you liked months earlier.
Inspect the finished composition sensibly
At handover, compare the installed arrangement with the approved layout from ordinary viewing positions. Look at join locations, pattern direction and the relationship between the main pieces. Photograph any question with a wider view as well as a close detail so the installer can identify it. A highly magnified image alone does not explain where a feature sits in the kitchen or whether it was part of the agreed slab selection.
Discuss acceptance criteria before fabrication rather than inventing them after installation. The visibility of a join depends on the material, pattern, lighting and workmanship, and an absolute promise that every junction will disappear is unhelpful. Ask how concerns should be reported and assessed. Do not attempt to alter a seam with abrasives, blades or household fillers. If a junction appears to move or opens later, use the benchtop warning signs guide and arrange an assessment of the cause instead of treating the line as a cosmetic issue alone.
When you receive a slab photograph, check that it includes an orientation marker and enough context to identify the piece. Ask whether a mirrored image is being used to illustrate a proposed match or whether it shows the real finished face. A mirrored visual can suggest continuity that requires a different slab or production arrangement. If the design contains a focal vein, point to it on the image and identify which finished component should contain it. This makes the preference testable against the cutting drawing without assuming every part of a naturally varied or patterned surface can be placed wherever you wish.
Your project preparation checklist
Use this list while reviewing the slab drawing. Tick only decisions shown on the current revision; the next missing layout detail will appear below. Your selections stay on this page and do not approve fabrication.
Keep the slab-layout questions beside your drawing.