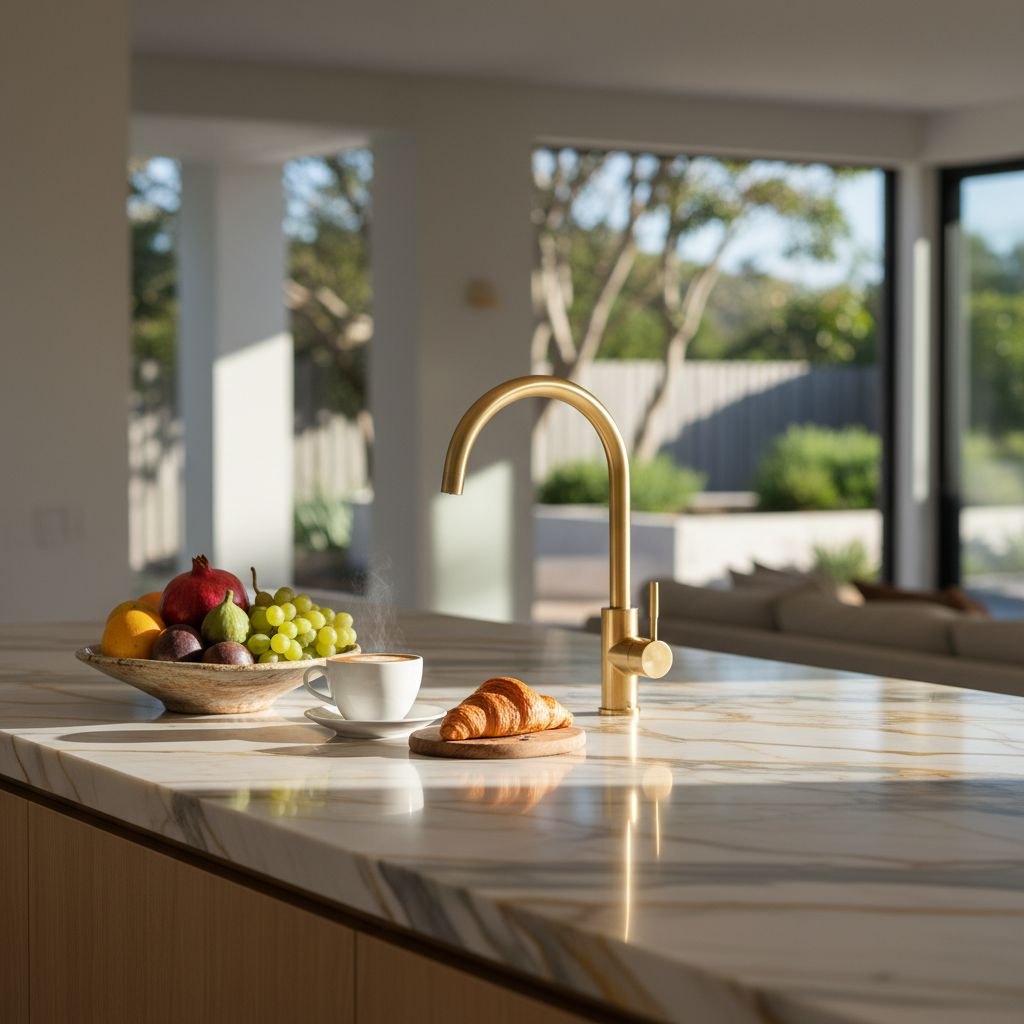
An edge profile describes more than whether a benchtop looks square or rounded. It defines the visible section, the treatment of the upper and lower arrises, the way corners turn and the relationship to cabinets below. For a Mandurah kitchen, review those details where people prepare food, pull out chairs and open drawers. A large showroom photograph rarely shows the underside or the actual corner. Asking for a sample and a section drawing turns a loose style preference into a detail that can be priced and fabricated consistently.
Separate slab thickness from visible depth
A thick-looking front edge does not necessarily mean the whole top is that thickness. Some designs use a separate fascia to create visual depth, while others show the actual slab edge. Ask the fabricator to draw the section, including the top, edge piece and anything beneath. This helps you understand what will be visible from the room and what sits above the cabinet fronts. It also prevents comparing two quotes that use different constructions under the same descriptive label.
The distinction affects more than appearance. The underside of the front edge may be seen from a seated position, and a deeper fascia may cover part of a cabinet rail or approach a finger-pull detail. Ask where joints appear and how exposed returns are finished. Do not assume a deeper-looking edge provides additional structural capacity. Support requirements belong to the selected product and assembly, and should be confirmed independently of the visual thickness chosen for the front elevation.
Use profile names as the start of a discussion
Terms such as pencil round, eased, bevelled, bullnose and shark nose are useful shorthand, but different suppliers may show slightly different versions. Request a drawing or sample of the exact profile being quoted. Identify which edges receive it and whether the top and bottom are treated the same way. A sample held at eye level can look quite different when placed horizontally at the intended working height with a cabinet front behind it.
Ask which profiles are compatible with the selected surface and finish. A profile offered in one material may not be suitable or available in another. Complex decorative sections can expose more of the edge and create a different visual balance from a simple eased edge. Decide whether that detail suits the cabinet style and the scale of the room. The practical question is not which name sounds more expensive, but which section can be made properly and remains comfortable in the places you use every day.
Distinguish edge rounding from corner rounding
The small treatment along the length of an edge and the larger turn at an outside corner are separate decisions. A lightly eased edge can still meet at a pronounced plan corner. Conversely, a generously curved island end can carry a relatively crisp section along its perimeter. Ask the drawing to show both. If a quotation only says rounded edge, it may leave the shape of the island corner unresolved.
Mark the corners that people regularly pass, particularly beside a narrow route or near seating. Discuss them with the designer in relation to circulation and cabinet geometry. You do not need to test a corner by bumping against a sample. A full-size paper outline, placed safely on a table or reviewed with the designer, can help explain the shape you mean. Keep any alteration to supported spans and cabinet layout within the professional design discussion rather than treating corner rounding as an isolated cosmetic operation.
Review mitred fascias closely
A mitred fascia can make the front of a top appear deeper while keeping the face pattern prominent. It also introduces an assembly junction that needs to be considered with the material and finish. Ask how the pattern on the front strip relates to the top surface, whether the chosen product has a different-looking body at the cut edge, and what a finished example looks like. A digital rendering may conceal all of these distinctions.
Look at the end of the fascia as well as its long face. Where the edge meets a wall, waterfall or exposed end panel, the return detail matters. Agree which faces will be finished and how the lower edge appears from seating height. For an island with a waterfall, combine this review with the waterfall planning discussion. Approving the top edge and the vertical panel separately can leave an unresolved meeting point where the most visible parts of the kitchen come together.
Think about hands, clothing and daily contact
The front edge is where a person may rest their forearms, stand close to a sink or brush past while carrying a basket. Comfort depends on the section, finish and position, not just the product name. Ask to handle a finished sample at a showroom where that is permitted. Compare how the upper and lower edges feel without assuming the sharp appearance in a photograph represents the actual finished treatment.
Consider the tasks at each stretch of bench. A breakfast edge is experienced from a chair, a sink edge from a close standing position, and a corner beside a doorway in passing. It can be reasonable to use different plan shapes in those locations while retaining a consistent visual section. Record intentional differences clearly. Otherwise a request to soften the island end may be interpreted as a change to every edge in the kitchen, or omitted because the general specification still describes the original profile.
Allow doors and drawers to work properly
On handleless cabinetry, the relationship between the front overhang and the finger-pull space is especially important. A deeper fascia may change how easily someone reaches the pull. With conventional handles, a large projection can still affect the way the top reads above the fronts. Ask for an elevation and section with the actual cabinet system rather than evaluating the benchtop detail in isolation. Open drawers and doors on an appropriate mock-up during the design review if one is available.
Replacement projects need an additional check because the old top may conceal unfinished cabinet material. A slimmer edge can reveal it, while a deeper one can obscure a deliberate shadow line. Identify who supplies any new finishing panels. The retained-cabinet guide covers the wider renovation scope. For the edge decision, keep the focus on the precise interface: visible rail, fascia depth, pull access and alignment with adjacent drawers. Those details should be resolved before the fabrication drawing is signed off.
See the material on its cut face
A surface pattern does not automatically continue through the body of the slab. Ask how the selected product looks where a cut edge is exposed, including around an undermount sink. A manufacturer photograph of a full slab may not answer that question. Request a sample of the actual colour and finish with the proposed edge treatment, or a clear explanation if that exact sample is unavailable. Distinguish a similar design from an exact representation of the ordered product.
Lighting also changes the apparent edge. Strong light across a polished face can emphasise reflections, while a matt finish may show a different transition at the rounded section. View the sample under ordinary light from more than one direction. For a kitchen with broad windows, describe where the daylight falls rather than assuming every Mandurah home has the same exposure. The aim is to choose with an understanding of the edge appearance, not to demand identical reflections under every possible lighting condition.
Balance cleaning access with the desired shape
Detailed profiles create different surfaces to wipe, particularly where a lower ledge or moulding faces the cabinets. Ask how that detail should be cleaned using the selected product's care instructions. A visually elaborate edge can be entirely deliberate, but it should suit the household's willingness to maintain it. Compare a finished sample with the routine you already follow around the sink and preparation area instead of choosing purely from an enlarged catalogue image.
Do not assume a rounded or bevelled edge eliminates chips or makes rough treatment harmless. Ask the supplier how accidental edge damage would be assessed and what repair limitations apply to that product and colour. Keep the answer realistic rather than accepting an assurance that any mark can disappear. For everyday care, follow the documented method and use the existing care guide as a starting point for questions. Do not reshape, sand or polish an installed edge yourself to make it feel smoother.
Hypothetical example: a small island beside a walkway
A household selects a deep-looking square island edge from a photograph. Their actual island sits beside a route between the kitchen and dining table, and its cabinetry uses a recessed finger pull. On the first section drawing, the fascia extends into the intended pull space. The drawing also shows a projecting outside corner directly beside the regular walking route. Both issues are visible before any material is cut.
The designer and fabricator discuss a revised fascia arrangement and a softened plan corner. The owners keep the visual weight they liked across the main face but change the details that affect daily use. They approve the revised section and corner outline together. This is a more useful decision than asking for the safest edge or the most durable profile in the abstract. It connects the selected shape to the actual cabinet system, position of the walkway and way the household uses the island.
Record an edge schedule before fabrication
An edge schedule is a short list identifying each exposed edge and its agreed treatment. It can sit on the main benchtop drawing rather than becoming a separate complex document. Label the island front, ends, wall run, sink opening and any visible returns. Note intentional differences and reference the approved sample. Check that the same terminology appears in the quote and drawing, especially where a decorative description has been shortened during revisions.
At handover, compare those locations with the schedule from normal viewing positions. Ask the installer about anything that appears inconsistent before trying to correct it. Keep the sample reference and product documentation for future discussions about repairs or additions. The value of this record is precision: it distinguishes a selected profile from an unintended variation and explains how the edge was meant to meet the cabinetry. A benchtop colour can be approved with a sample, but a complete edge choice needs the sample, the section and the corner plan together.
When two edges meet, ask the drawing to show how the profile continues through the corner instead of reviewing each straight length alone. This is useful at a peninsula end, where one face may be seen from the kitchen and the other from the living room. Mark any short exposed return that might otherwise be mistaken for a concealed edge. Also ask whether the approved sample represents the final surface finish after fabrication, including the transition between the face and rounded portion. Keeping these small details on the edge schedule prevents a polished showroom sample and an unfinished workshop sample from being compared as equivalent references.
Your project preparation checklist
Use the list to prepare your edge sample review. The next unticked item identifies a detail to discuss, rather than rating one profile as universally better. Tick only the details you have actually reviewed; selections are temporary.
Prepare the sample and section questions listed here.